As professional tent manufacturers, we understand that a well-pitched tent is the cornerstone of a safe and enjoyable outdoor experience. Whether you’re a novice camper or a seasoned adventurer, mastering the art of tent setup ensures comfort, durability, and protection from the elements. In this comprehensive guide, we’ll walk you through essential tent setup steps and share expert tips honed from years of industry experience. Let’s dive in!
Tent
setup Step 1: Pre-Setup Preparation
Before touching a tent pole, proper preparation is key to a smooth setup process.
A. Unpack and Inspect
Unpack all components: Lay out the tent body, rainfly, poles, stakes, guylines, and any accessories. Missing parts can derail your setup.
Check for damage: Inspect seams, zippers, and poles for tears, bends, or manufacturing defects.
B. Review Instructions
Study the manual: Even experienced campers should review the manufacturer’s instructions, as designs vary (e.g., pop-up tents vs. geodesic models).
Practice at home: For complex tents, do a trial run in your backyard to avoid frustration in the field.
Tent
setup Step 2: Choose and Prepare the Site
A poorly chosen site can lead to discomfort or even tent failure.
A. Site Selection
Flat and level ground: Avoid slopes or depressions where water might pool.
Natural windbreaks: Position the tent door away from prevailing winds, using trees or rocks as shields.
Clear debris: Remove sharp rocks, sticks, and pinecones to protect the tent floor613.
B. Ground Protection
Use a footprint or tarp: A groundsheet adds insulation, prevents abrasion, and blocks moisture.
Secure corners: For added stability, stake the footprint before assembling the tent.
Tent
setup Step 3: Assemble the Tent
The assembly process differs by tent type. Below, we break it down for standard dome tents and pop-up/automatic tents.
A. Standard Dome Tent Setup
Lay out the tent body: Unfold the inner tent and position it over the footprint.
Connect poles:
Slide pole segments together, ensuring they’re fully inserted.
For color-coded poles, match the tags to the corresponding tent sleeves.
Insert poles into sleeves:
Gently thread poles through the tent’s designated channels.
For clip-style tents, attach clips to the poles after raising the frame.
Raise the structure: Lift the poles to form the dome shape, securing the corners to the ground temporarily.
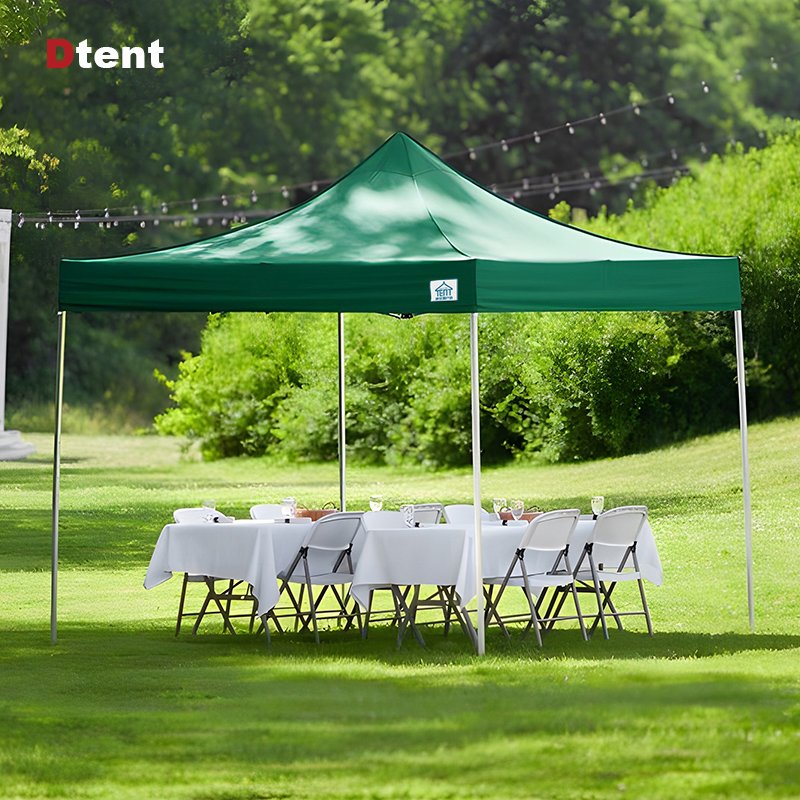
B. Pop-Up/Automatic Tent Setup
Unpack and release: Remove the tent from its bag and allow it to spring open automatically.
Adjust the frame: Ensure all joints are locked and the structure is fully expanded.
Secure corners: Stake down the base immediately to prevent wind from lifting the tent.
Tent
setup Step 4: Install the Rainfly and Secure the Tent
A properly installed rainfly is critical for weather resistance.
A. Attach the Rainfly
Drape over the tent: Align the rainfly with the tent’s doors and vents.
Clip or buckle: Fasten the rainfly to the tent body using provided attachments.
Adjust tension: Ensure the rainfly doesn’t sag, as pooling water can lead to leaks.
B. Stake and Guyline Setup
Stake at a 45° angle: Drive stakes diagonally away from the tent for maximum hold.
Use guylines:
Attach guylines to reinforced loops on the rainfly.
Tighten gradually, avoiding over-tensioning that could warp the poles.
Add tensioners: Adjustable line locks or trucker’s hitch knots help maintain tension in changing weather
Tent
setup Step 5: Optimize Ventilation and Interior Setup
Proper airflow reduces condensation and enhances comfort.
A. Ventilation Tips
Open vents and windows: Position them to create cross-ventilation.
Elevate the rainfly: Keep a 6–8 inch gap between the rainfly and tent body for airflow.
B. Organize the Interior
Use gear lofts and pockets: Store small items off the floor to maximize space.
Lay down a rug or mat: Protects the tent floor and adds insulation.
Pro Tips for Challenging Conditions
1. Windy Weather
Reinforce with extra stakes: Add stakes to guylines and vestibules.
Low-profile pitching: Angle the tent so the strongest side faces the wind.
2. Rainy Environments
Dig a perimeter trench: Redirect water flow away from the tent (only if permitted).
Seal seams preemptively: Apply seam sealer before the trip if the tent isn’t factory-sealed.
3. Snow Camping
Pitch on packed snow: Use deadman anchors (e.g., buried skis or snow stakes).
Brush off snow regularly: Prevent accumulation that could collapse the roof.
Ignoring stake angles: Vertical stakes pull out easily in wind.
Overlooking site drainage: Even a slight slope can channel water under the tent.
Skipping the footprint: Direct ground contact accelerates wear and tear.
Takedown and Storage
Clean before packing: Brush off dirt and let the tent dry completely to prevent mold.
Fold, don’t stuff: Neat folding avoids stress on seams and zippers.
Store loosely: Keep the tent in a breathable bag, not compressed
Why Trust Our Expertise?
As tent manufacturers, we rigorously test our products in extreme conditions:
Wind tunnels: Ensure stability in 50+ mph winds.
Water immersion tests: Validate waterproof ratings up to 5,000mm HH.
UV exposure trials: Guarantee fabric longevity under harsh sunlight.
Mastering tent setup transforms camping
Mastering tent setup transforms camping from a chore into a seamless, enjoyable ritual. By following these steps and tips—tailored to diverse environments and tent types—you’ll ensure your shelter stands strong against nature’s challenges. At Dtent, we design tents to make setup intuitive, but even the best gear thrives with knowledge and practice.
Yes, we have experienced designers and our own molding factory. According to your requirements, we can design or open mold which has a competitive price.
Cost effective; with low price; Time effective: we promise to make the mass delivery within 30 days Service effective: Our sales people promise to reply your enquiry within 12 hours.Contact whatsapp 86 180 3827 3926
Foreign trade business director
13 years of business experience
Serve well-known brand customers
Any questions, please feel free to contact me immediately!